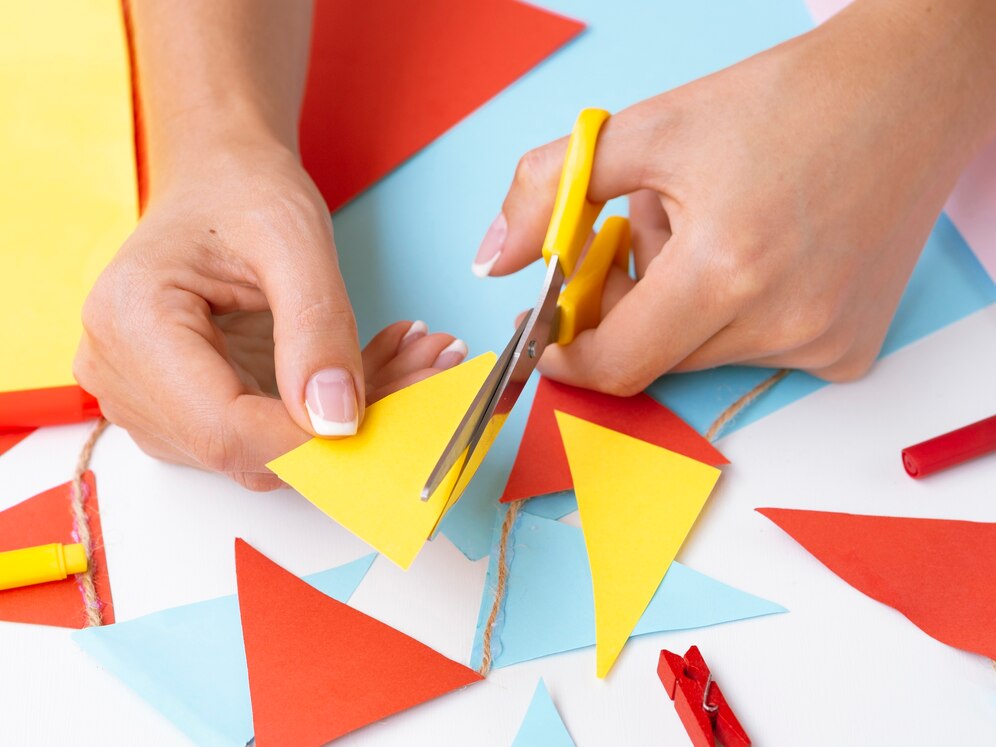
Why is cutting with scissors important for preschoolers schooling as it appreciably aids inside the development of high-quality motor abilities and cognitive abilities. By getting to know to apply scissors, preschoolers beautify their hand-eye coordination, dexterity, and muscle energy in their arms and fingers, which can be critical for writing and different normal responsibilities. Additionally, scissor activities sell creativity, independence, and problem-fixing abilities. Why is cutting with scissors important for preschoolers Children learn to explicit themselves thru arts and crafts, improve their self belief via learning the way to control scissors, and acquire the capacity to comply with directions and address demanding situations creatively.
Paper Cutting & Use Scissors Activities
presentation Why is cutting with scissors important for preschoolers?
Why is cutting with scissors important for preschoolers? Paper is one of the most widely used mediums for writing, printing, drawing, painting, cutting, making arts and crafts and packing in the modern world. It is one of the most common materials found around the house, office, schools, banks, shopping, malls and virtually any place we might visit during the day. It is around us in the form of receipts, books, or even paper bags etc. including many other paper products.
Paper has been around for a very long time and has been used for various different purposes other than just writing. It is believed that the paper was first invented by the Chinese around 105 A.D. Paper cuts have been recovered in Northern China dating as old as 207 A.D. Archeologists excavated paper cuts in 1959 which dated between 514 and 551 A.D. Historians seem to agree that the process of paper making was introduced in Europe during the 10th century by the Muslims and the process first began in the region which are the countries of Portugal, Spain and Sicily.
Paper has been used for multiple purposes other than writing, in fact it was first primarily used for packing, wrapping and protecting delicate mirrors in China. However, paper substituted silk as the main medium for writing and painting, by 1000 A.D.
Why is cutting with scissors important for preschoolers? Using scissors to cut paper and other material is a fundamental fine motor skill. However, the skill may be developed and improved from simple cutting to a complex and highly skilled form of art. The art of paper cutting is believed to be a folk art in China. Japanese are also believed to be highly skilled in the art of paper cutting. The art of cutting objects to produce beautiful handwriting pieces dates back nearly 4000 years.
There is a long history of paper cuts with flower patterns made by the Chinese to decorate the windows of their houses and buildings. The illustration on the previous page shows an elaborate paper cut made by a specific type of sharp shorts bladed, oval handled scissors. Traditional subjects for the paper cuts include birds, flowers, butterflies, children, dragons, and legends.
Why is cutting with scissors important for preschoolers? The history of paper cutting is not just limited to China and Japan but also in other parts of the world including Europe. Polish traditional shoes designs are made on bright colored paper by cutting superimposed symmetrical paper to make multilayered designs which were also used to decorate walls and furniture.
Exercise 1:Use of Scissors
Material
- child – sized, child- safe, well-crafted scissors.
- Different types of paper (initially with guidelines and designs drawn on them) for cutting.
- Insets for design may also be used at a later stage to trace and cut shapes from different types of paper.
Purpose
- Learning the use of scissors and developing cutting skills.
- Introduction to paper cutting as a form of art .
- Strengthening hands muscles.
- Improvement of fine skills.
- Developing the correct pencil grasp for handwriting. Cutting with scissors is a useful pre-handwriting skill.
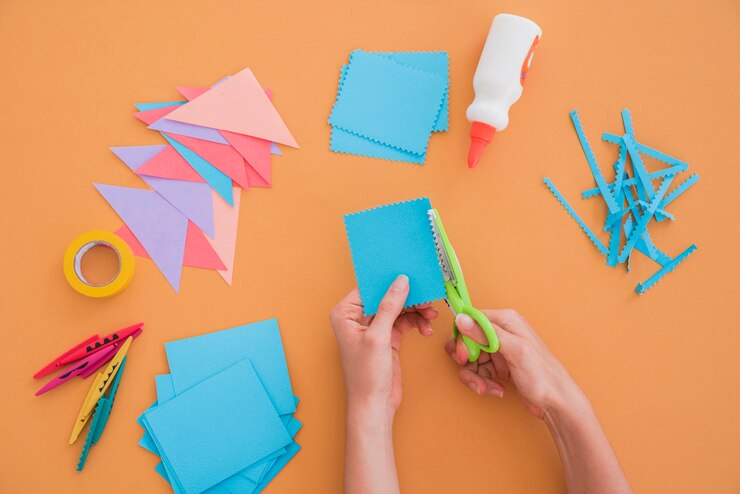
Presentation Why is cutting with scissors important for preschoolers?
- Invite a child to work with you and shift the material to the workplace.
- Show the child the proper way of holding the scissors by placing the index finger along with the middle finger in one hole, and the thumb in the other scissors.
- Demonstrate to the child how to hold the scissors at an appropriate angle so that the blades are at right angles to the paper.
- Without superfluous movements and with the economy of language, show the child how to cut the border of the card.
Activity 1
Why is cutting with scissors important for preschoolers? The directress shows the child how to cut the square or rectangular borders from cards using the scissors.
Activity 2
The child is introduced to cutting along curved borders of cards.
Age : 3 years and onwards.
Note: The concepts of recycling may be introduced among young children by showing them how to reuse greeting cards and paper packaging in different ways e.g. by mounting them on their own construction paper to make new cards, using them as base for collage work or cutting them in smaller pieces and use in mosaics.
Exercise 2 :Ring Chain
Material
- Paper
- Child-sized scissors
- Glue stick
Purpose
- Use of scissors.
- Learning to glue and stick paper etc. together .
- Development of concentration and fine motor skills.
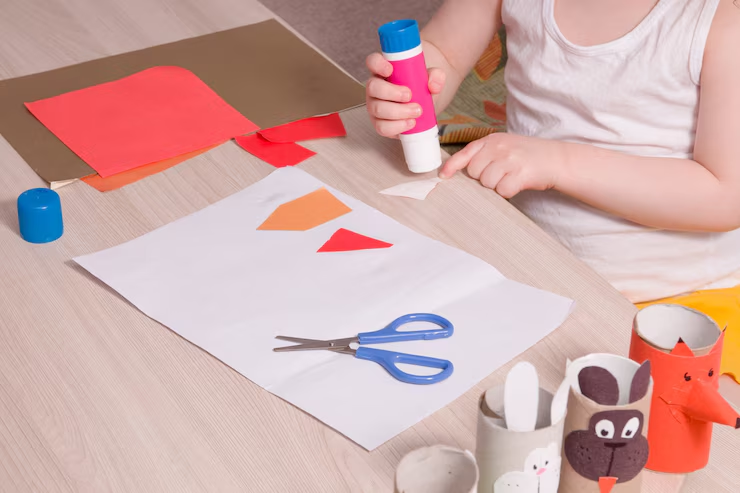
Presentation Why is cutting with scissors important for preschoolers?
- Bring the material to the workplace with the help of the child.
- Show the child how to cut out 10 or strips of paper which are ¾ inch by 6 inches.
Please note: The child may not learn to take measurements at this stage, therefore , the directress should make measurements and make sure the child knows that the strips are all equal in size.
- Show the child how to apply glue on the end of the strip. Attach the other end of the strip to the glued part so that they stick together to form a circle.
- Pass the second strip through the first loop and repeat the first step, so that the second strip forms a circle interconnected with the first one as shown in the picture on the next page.
- Repeat the above mentioned steps until all circles are connected , making a chain.
- Allow the child to continue by himself whenever he wants to do so.
- Encourage him to use stipes of different colors to make a multi-colored chain.
Age : ⅗ years onwards.
Exercise 3:Chain Links 1
Materials
- Rectangles of paper approximately 3” x 11”
- Scissors
Purpose Why is cutting with scissors important for preschoolers?
- Use of scissors.
- Development of concentration.
- Development of fine motor skills.
- Learning handwork technique.
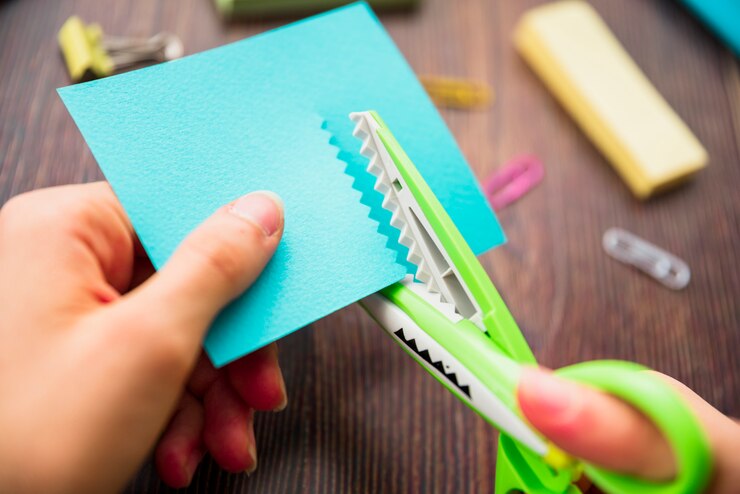
Procedure
- Bring the material to the workplace with the help of the children.
- Start with a rectangular sheet of paper. In this example, we used 3” x 11”. Fold the paper in half lengthwise.
- Show the child how to cut the paper along the lines as shown. First cut from top to bottom; then cut from bottom to top. Continue in this alternating manner to the end of the sheet. Be sure to cut up to the edge but do not cut the paper completely so that it fails apart into segments.
- Demonstrate to the child how to carefully unfold the cut paper.
- Hold the paper at the two short ends pull apart. This will produce a springy cut-out as shown below.
Age
⅗ years onwards.
Exercise 4:Chain Links 2
Materials
- Rectangles of paper approximately 6” x 11”
- Scissors
Procedure
- Demonstrate to the child how to fold the paper ( 6” x 11”) in half twice as shown below forming a rectangle sizing 1.5” x11”.
- Now cut the paper in alternating lines in the same way as described in the previous exercise. Untold the paper after cutting and pull on both ends.
Exercise 5:Chain Links 3
Materials
- A square of paper
- Scissors
Procedure
- Fold the square piece of paper into quarters diagonally, forming a right-angled isosceles triangle as show below.
- Initially, draw guidelines on the triangular paper to help the child cut easily.
- Show the child how to cut alternately along the lines without cutting the paper completely so that it falls apart into segments. At a later stage the child may be asked to judge the width and cut without guidelines.
- Unfold the paper carefully when the cutting is done. Hold from the middle and pull up to have a beautiful piece of art. It can be used for decorations e.g. on birthday parties etc.
- The same procedure may be tried with any even sided polygon (i . e a hexagon), folding into triangles before cutting from each side to within ¼” of opposite edge.
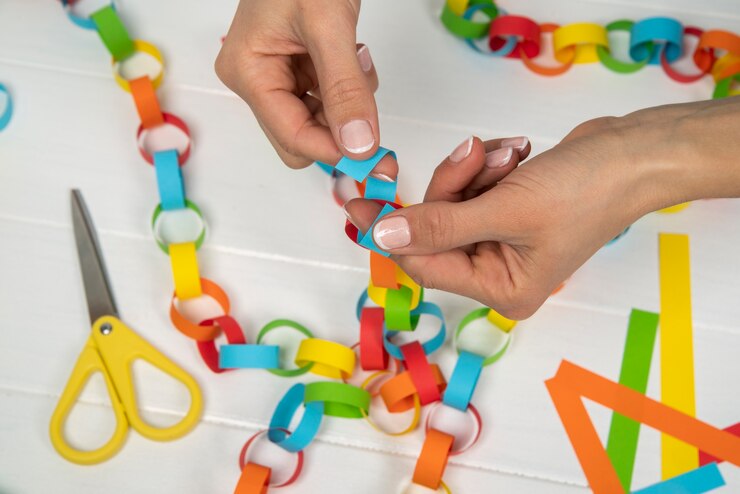
Age: ⅗ years onwards.
Exercise 5:Paper Chains
Material
- Strips of colored paper (about 1” sized squares)
- Plastic or paper drinking straws
- Push pin and pad
- Large -eyed needle and thick thread
- 2 small baskets
Presentation Why is cutting with scissors important for preschoolers?
- Bring the material to the workplace with the help of the child.
- Demonstrate the child how to cut the strips of paper into approximately 1” squares. The child learns with practice how to judge the size and where to cut by using his sense of fight as opposed to using a ruler at this stage.
- Take a straw and cut equal sized segments of approximately 1” in length.
- Show the child how to punch a hole in the center of each square, using a push pin and pad.
- The directress shows the child how to thread a needle by holding the end of the thread between the thumb and forefinger and bringing the eye of the needle to the thread. Then bring the ends of the thread together and make a knot at the end, looping the end of the thread twice around the forefinger and pulling taut with the middle finger and thumb.
Caution : Whenever children are sewing, they need to sit at opposite sides of a table to avoid injuring someone seated beside them.
Note : The E P L , threading and trying a knot are preliminary exercises before the child is able to perform the current exercise.
- Tale one square piece of paper and thread it through the end of the yarn and push it down to the knot. Then thread a segment of drinking straw and push it down to the square. Alternately string a square of paper and a segment of straw until a chain is formed. Ends of the chains can be joined together to make longer ones. This procedure may be used to make hand-made party decorators. The children will feel a great sense of achievement by using their own hand-made chain at parties and festivals.
Exercise 7:Flower Chain
Material
- Thick paper, for example, cardstock or thick chart paper or cardboard
- Drinking straws
- Thread/Yarn
- Scissors
- Optional : paint, markers, glitter
Procedure
- The material should be brought to the workplace with the help of the children.
- Draw and cut out several flowers from thick paper/chart paper of different colors. You may use a template to trace the shape of the same shape and size. The child should be encouraged to trace and cut by himself with minimum help by the directress.
- Punch a small hole in each flower (this is where the yarn will be threaded through them).
- It is optional to decorate the flowers with paint or markers. Using glitter glue etc. can also give a nice decorative touch to the flowers. (Make sure to place a plastic sheet or old newspapers beneath the flowers before working with paint and other decorative material in order to avoid making a mess, and it will also be easier to clean up afterwards.)
- Demonstrate to the child how to cut a drinking straw into equal pieces. Exact measurement with the ruler is not the aim here, the child should be able to judge the size and make sure all pieces are equal in size. (The segments of the straw should be approximately 1.5 inch long – a segment of straw is required between each flower.
- Cut a long piece of yarn and tie a thick knot at one end of it. Take one flower and thread it through the end of the yarn and push it down to the knot. Then thread a segment of drinking straw and push it down to the flower. Note: The EPL threading exercise would prove to be a useful preliminary exercise before the child can thread flowers.
- Repeat the same procedure for the next flower. Invite the child to continue by himself . Allow the child to take over and continue threading the flowers and straw segments.
- When all the flowers have been tied the ends of the yarn with thick knots.
Age ⅗ years onwards.
Exercise 8:Cutting Paper Hearts
Materials
- Rectangular pieces of paper, approximately 3” x 5”, in size
- Template of ½ heart, (to trace the shape of the heart, if required)
- Scissors
Presentation Why is cutting with scissors important for preschoolers?
- The directress shows the child how to bring the material to the workplace.
- Show the child how to fold a rectangular piece of paper into rectangle of about ⅕ “ x ⅖ “ in size.
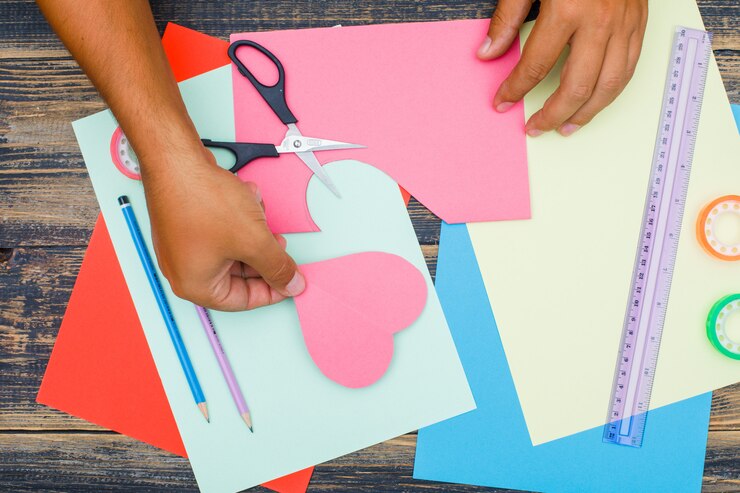
Point to remember : The sizes have been provided for the directress reference. The main aim is to help children judge size and differentiate between equal and unequal sizes by using their sense of vision. Children may learn to measure exactly at a stage.
- Trace the shapes of a half heart on the folded paper. Use a scissor to cut out a half-heart shape and stem, the center and stem of the heart along the folds as shown in the diagram.
- Repeat the procedure for other rectangular pieces of paper until sufficient heart shapes have been cut out to form a long heart chain.
- Now show the child how to open up the cut shapes, Insert each heart through the one before it, forming a chain.
Exercise 9:Bookmark
Material
- Rectangular pieces of paper approximately 2 1/5 “ and 5” in size.
- Scissor
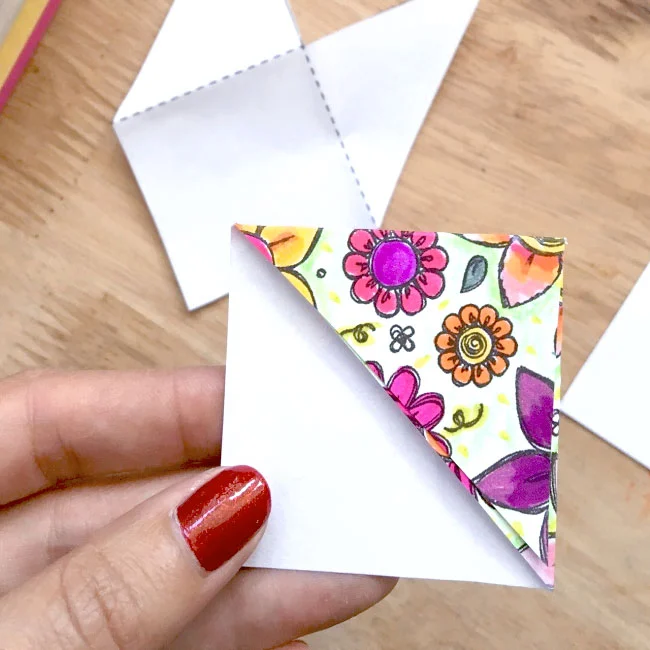
Procedure
- The directress shows the child how to bring the material to the workplace.
- Begin with a rectangular sheet of paper .Demonstrate to the child how to lengthwise fold paper in half.
- The directress may draw equidistant diagonal lines, parallel to each other at a 45 degree angle, on one side of the folded paper. The lines should start from the folded end and stretch towards the edge of the paper. The loans should however, not touch the edges. Some space should be left at the ends.
- Use scissors to cut the diagonal lines on the paper. Cut multiple slits each parallel to one another.
- Show the child how to carefully unfold the paper. Multiple cuts and flaps in the shape of an upside down :V” will be visible upon unfolding.
- Demonstrate to the child how to start from the bottom of the paper and fold the first flap upward.
- The next step is to leave the second flap as it is. Instead, fold the third flap upwards.
- Repeat folding the alternative flaps upwards to produce a repeating pattern. It is optional to tuck the tips of the flaps under the paper to give an interlocking pattern.
- Paste it on a piece of cardboard.
- Explain the use of the bookmark and show the children how to place the bookmark in a book.
Exercise 10:Christmas Tree
Procedure Why is cutting with scissors important for preschoolers?
- Show the child how to fold the paper and cut out a tree from a piece of chart paper.
- Cut out parallel diagonal lines starting from the folded side in the same way as described in the first exercise.
- Open the folds down the alternating flaps as described in detail in the previous exercise.
- The children may trace and cut a tree trunk separately from another piece of chart paper and glue it to the base of the triangular Christmas tree.
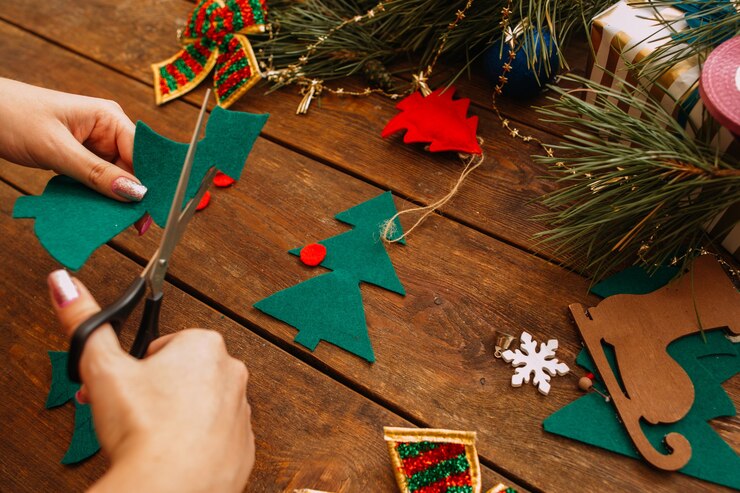
Age : 4 years onwards.
Exercise 11 Japanese Lantern
Materials
- Rectangles of paper
- Scissors
- Glue or paper punch
- Paper clips
Presentation cutting with scissors important for preschoolers
- Invite a child to work with you .
- Show the child how to bring the material to the workplace.
- Fold the rectangular sheet of paper lengthwise.
- Show the child how to cut strips of paper from the folded edge of the paper (about 1” i width) leaving about one inch uncut towards the other edge. Ensure that the strips are connected and do not each strip off.
- Demonstrate carefully how to unfold the paper.
- Loop the paper around to make a tube shape from it. Now , join the ends of the paper together with the help of tape, glue or staples.
- Press the top slightly to make the slits visible. The japanese lantern is ready. It can be placed over a small bulb to give a charming effect of lighting.
